Last Updated: 2019-12-14

Flutter is Google's UI toolkit for building beautiful, natively compiled applications for mobile, web, and desktop from a single codebase. Flutter works with existing code, is used by developers and organizations around the world, and is free and open source.
In this codelab, you'll create a simple mobile Flutter app. If you are familiar with object-oriented code and basic programming concepts such as variables, loops, and conditionals, you can complete this codelab. You don't need previous experience with Dart or mobile programming.
What you'll learn
- How to write a Flutter app that looks natural on both iOS and Android.
- Basic structure of a Flutter app.
- Using DartPad for a quicker prototyping.
- How to implement a stateful widget.
- How to create an infinite, lazily loaded list.
- How to add interactivity.
- How to modify the app's theme
- How to add the ability to navigate to a new page (called a route in Flutter).
What you'll build
You'll implement a simple mobile app that presents images from remote server. The user can select and unselect images, saving the best ones. The code lazily loads ten images at a time. As the user scrolls, new batches of images are downloaded. The user can scroll forever, with new images being continually downloaded.
You only need DartPad to complete this lab. It supports the following browsers: Chrome, Firebase and Edge (dev channel). This codelab assumes that you use DartPad.
Also you can use local Flutter SDK, and an editor. In this case you can run the project using any of the following devices:
- A physical device (Android or iOS) connected to your computer and set to developer mode.
- The iOS simulator. (Requires installing Xcode tools.)
- The Android emulator. (Requires setup in Android Studio.)
 Open DartPad in your browser.
Replace code.
Delete all of the code on the screen. Replace with the following code.
import 'package:flutter/material.dart';

void main() => runApp(MyApp());

class MyApp extends StatelessWidget {
  @override
  Widget build(BuildContext context) {
    return MaterialApp(
      title: 'Welcome to Flutter',
      home: Scaffold(
        appBar: AppBar(
          title: const Text('Welcome to Flutter'),
        ),
        body: Center(
          child: Text('Hello World'),
        ),
      ),
    );
  }
}
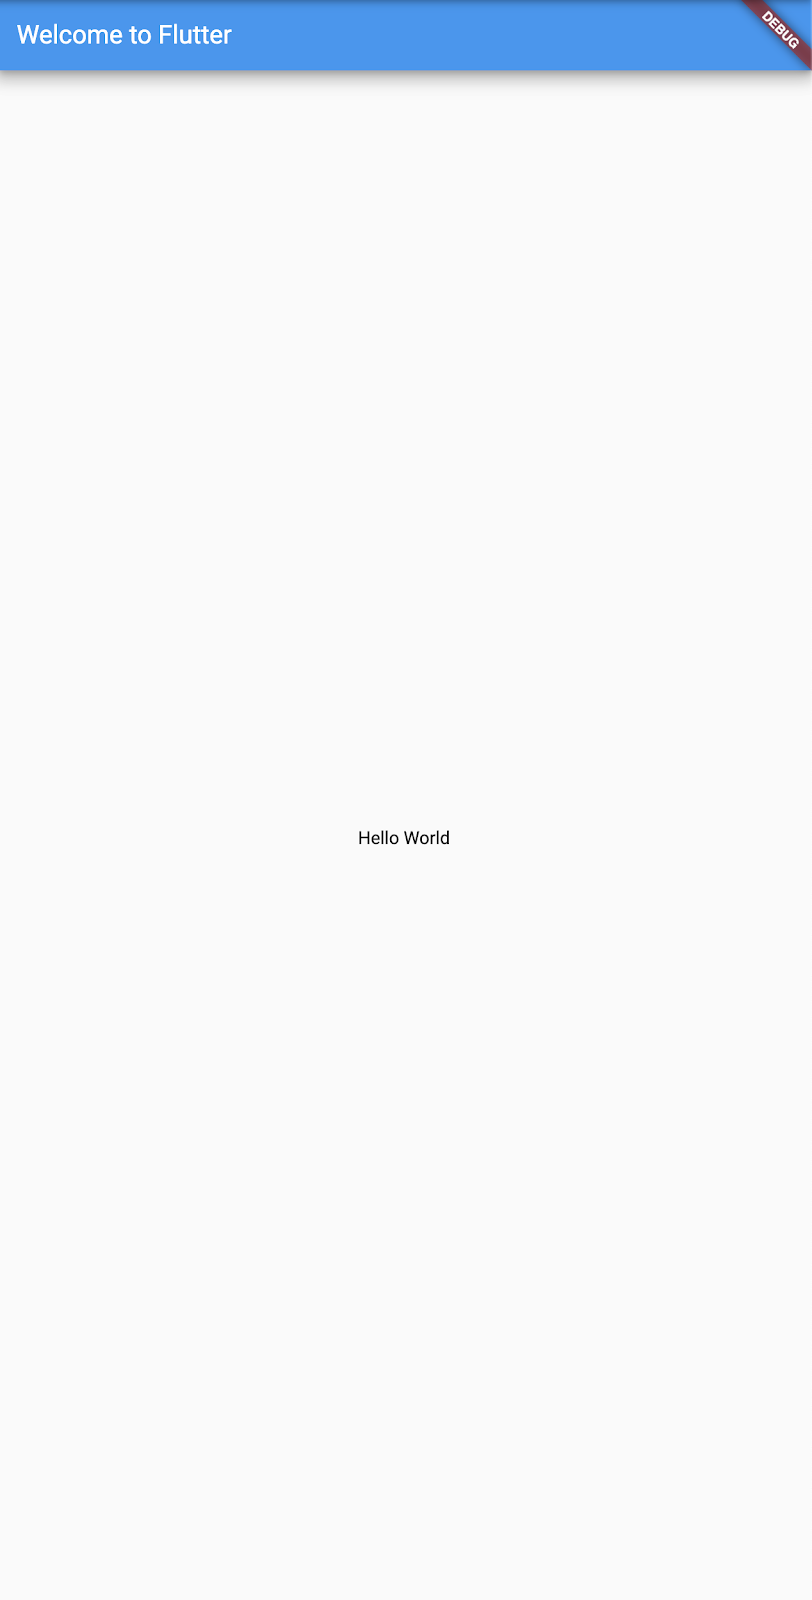
Click RUN button, it should display "Hello World" in the center of the screen.
 Observations
- This example creates a Material app. Material is a visual design language that is standard on mobile and the web. Flutter offers a rich set of Material widgets.
- The main method uses arrow (=>) notation. Use arrow notation for one-line functions or methods.
- The app extends StatelessWidget, which makes the app itself a widget. In Flutter, almost everything is a widget, including alignment, padding, and layout.
- The Scaffold widget, from the Material library, provides a default app bar, a title, and a body property that holds the widget tree for the home screen. The widget subtree can be quite complex.
- A widget's main job is to provide a
buildmethod that describes how to display the widget in terms of other, lower-level widgets. - The body for this example consists of a Center widget containing a Text child widget. The Center widget aligns its widget subtree to the center of the screen.
In this step, you'll use Image widget, that can display images from different sources, including URL. To display images from the internet you can use Image.network constructor.
Make the changes shown below:
import 'package:flutter/material.dart';

void main() => runApp(MyApp());

class MyApp extends StatelessWidget {
  @override
  Widget build(BuildContext context) {
    return MaterialApp(
      title: 'Welcome to Flutter',
      home: Scaffold(
        appBar: AppBar(
          title: const Text('Welcome to Flutter'),
        ),
        body: Center(
          // child: Text('Hello World'), // Replace this text...
          child: Image.network('https://picsum.photos/seed/1/250/250'), // With this text.
        ),
      ),
    );
  }
}
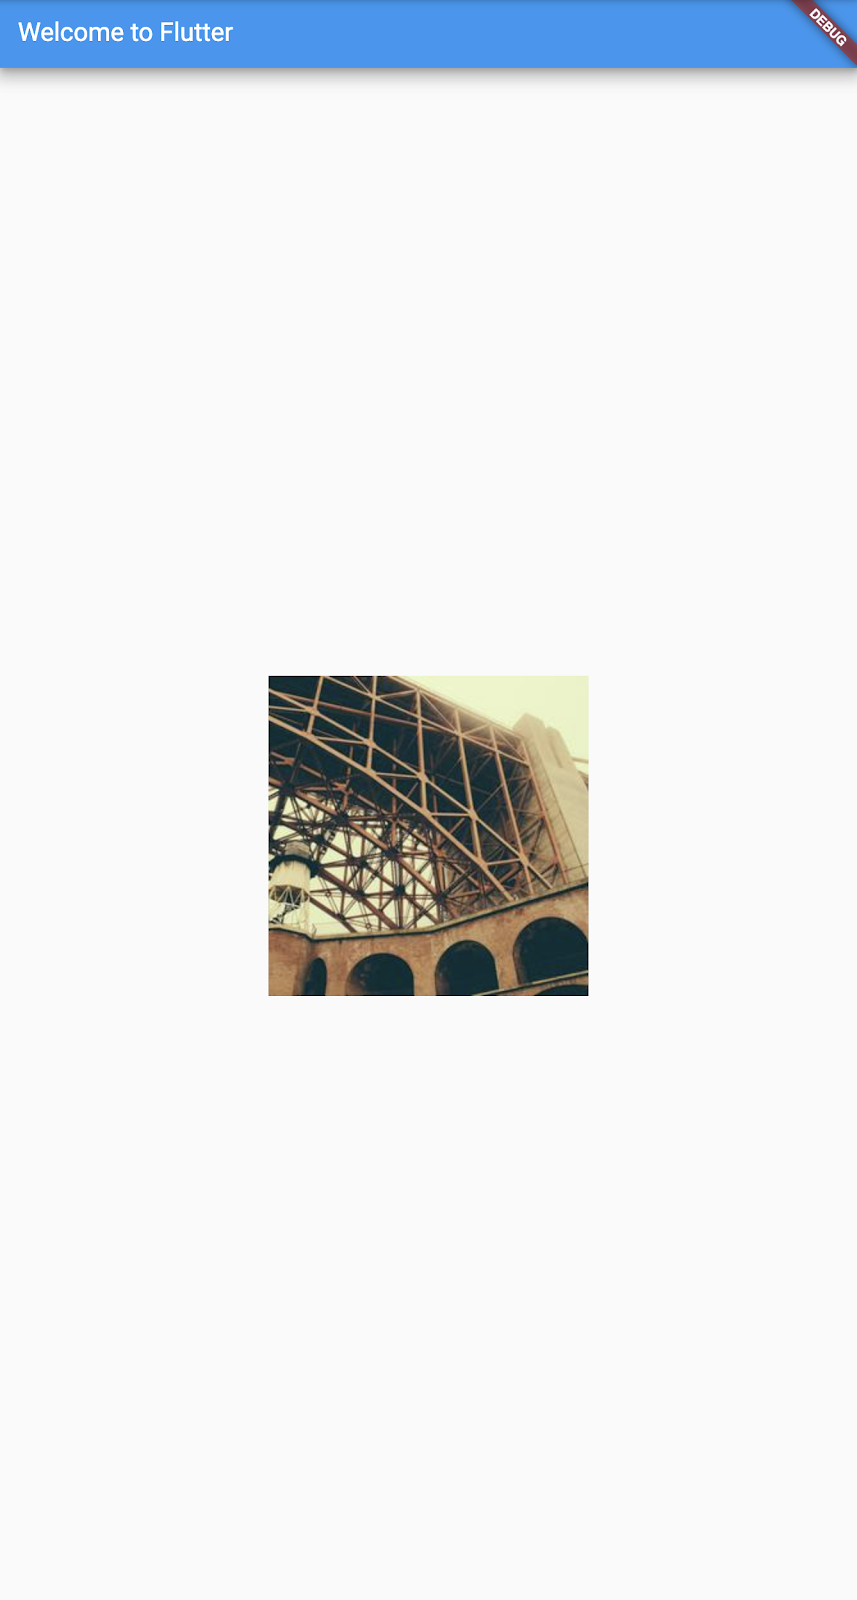
Click RUN button, it should display an image in the center of the screen.
Learn more
- You can find more details about working with images in Flutter Cookbook
- You can read about Image widget in the documentation.
Stateless widgets are immutable, meaning that their properties can't change—all values are final.
Stateful widgets maintain state that might change during the lifetime of the widget. Implementing a stateful widget requires at least two classes: 1) a StatefulWidget class that creates an instance of 2) a State class. The StatefulWidget class is, itself, immutable, but the State class persists over the lifetime of the widget.
In this step, you'll add a stateful widget, RandomImages, which creates its State class, RandomImagesState. You'll then use RandomImages as a child inside the existing MyApp stateless widget.
Create a minimal state class.Add the following text at the bottom of the screen:
class RandomImagesState extends State<RandomImages> {
  // TODO Add build method
}
Notice the declaration State<RandomImages>. This indicates that we're using the generic State class specialized for use with RandomImages. Most of the app's logic and state resides here—it maintains the state for the RandomImages widget. This class saves the generated images urls, which grows infinitely as the user scrolls, and favorite images, as the user adds or removes them from the list by toggling the heart icon.
RandomImagesState depends on the RandomImages class. You'll add that next.
Add the stateful RandomImages widget. The RandomImages widget does little else besides creating its State class:
class RandomImages extends StatefulWidget {
  @override
  RandomImagesState createState() => RandomImagesState();
}
After adding the state class, the editor complains that the class is missing a build method. Next, you'll add a basic build method that displays an image from the internet by moving the code from MyApp to RandomImagesState.
Add the build method to RandomImagesState, as shown below:
class RandomImagesState extends State<RandomImages> {
  @override                                  // Add from this line ...
  Widget build(BuildContext context) {
    return Center(
          child: Image.network('https://picsum.photos/seed/1/250/250'),
        );
  }                                          // ... to this line.
}
Remove the image code from MyApp by making the changes below:
class MyApp extends StatelessWidget {
  @override
  Widget build(BuildContext context) {
    return MaterialApp(
      title: 'Welcome to Flutter',
      home: Scaffold(
        appBar: AppBar(
          title: Text('Welcome to Flutter'),
        ),
        body: // Center(    // Change these lines to
            // child: Image.network('https://picsum.photos/seed/1/250/250'),
            // ),
            RandomImages(), // ... to this line.
      ),
    );
  }
}
Click RUN button. The app should behave as before, displaying an image in the center of the screen.
In this step, you'll expand RandomImagesState to generate urls and display a list of images. As the user scrolls, the list (displayed in a ListView widget) grows infinitely. ListView's builder factory constructor allows you to build a list view lazily, on demand.
Add a _urls list to the RandomImagesState class for saving generated urls.
class RandomImagesState extends State<RandomImages> {
  // Add the next line.
  final List<String> _urls = <String>[];
Next, you'll add a _buildImages() function to the RandomImagesState class. This method will build the ListView that displays the images.
The ListView class provides a builder property, itemBuilder, that's a factory builder and callback function specified as an anonymous function. Two parameters are passed to the function—the BuildContext, and the row iterator, i. The iterator begins at 0 and increments each time the function is called—once for every url. This model allows the urls list to grow infinitely as the user scrolls.
Add the entire _buildImages function, shown below, to the RandomImagesState class (delete the comments, if you prefer):
  Widget _buildImages() {
    return ListView.builder(
        padding: const EdgeInsets.all(16),
        // The itemBuilder callback is called once per url, and display an image into a ListTile
        // row. For even rows, the function adds a ListTile row for
        // the image. For odd rows, the function adds a
        // Divider widget to visually separate the entries. Note that
        // the divider may be difficult to see on smaller devices.
        itemBuilder: (BuildContext _context, int i) {
          // Add a one-pixel-high divider widget before each row
          // in the ListView.
          if (i.isOdd) {
            return Divider();
          }

          // The syntax "i ~/ 2" divides i by 2 and returns an
          // integer result.
          // For example: 1, 2, 3, 4, 5 becomes 0, 1, 1, 2, 2.
          // This calculates the actual number of urls
          // in the ListView,minus the divider widgets.
          final int index = i ~/ 2;
          // If you've reached the end of the available urls...
          if (index >= _urls.length) {
            // ...then generate 10 more and add them to the
            // urls list.
            _urls.addAll(List.generate(
                10, (number) => 'https://picsum.photos/seed/${_urls.length + number + 1}/250/250'));
          }
          return _buildRow(_urls[index]);
        });
  }
The _buildImages function calls _buildRow once per url. This function displays each new image in a ListTile, which will allow you to make the rows more attractive later.
Add a _buildRow function to RandomImagesState:
  Widget _buildRow(String url) {
    return ListTile(
      title: Image.network(url, height: 250),
    );
  }
Update the build method for RandomImagesState to use _buildImages(), rather than directly displaying image. (Scaffold implements the basic Material Design visual layout.)
  @override
  Widget build(BuildContext context) {
//     return Center(                                                   // Delete these lines
//       child: Image.network('https://picsum.photos/seed/1/250/250'),  // ...
//     );                                                               // ... up to this line.
    return Scaffold(                                                    // Add these 6 lines
        appBar: AppBar(                                                 // ...
          title: const Text('Insta Flutter'),                           // ...
        ),                                                              // ...
        body: _buildImages(),                                           // ...
      );                                                                // ...
  }
Update the build method for MyApp, changing the title, and changing the home to be a RandomImages widget.
  @override
  Widget build(BuildContext context) {
//     return MaterialApp(                      // Replace these 9 lines
//       title: 'Welcome to Flutter',           // ...
//       home: Scaffold(                        // ...
//         appBar: AppBar(                      // ...
//           title: Text('Welcome to Flutter'), // ...
//         ),                                   // ...
//         body: RandomImages(),                // ...
//       ),                                     // ...
//     );                                       // ... up to this line.
    return MaterialApp(                         // With these 4 lines
      title: 'Insta Flutter',                   // ...
      home: RandomImages(),                     // ...
    );                                          // ...
  }
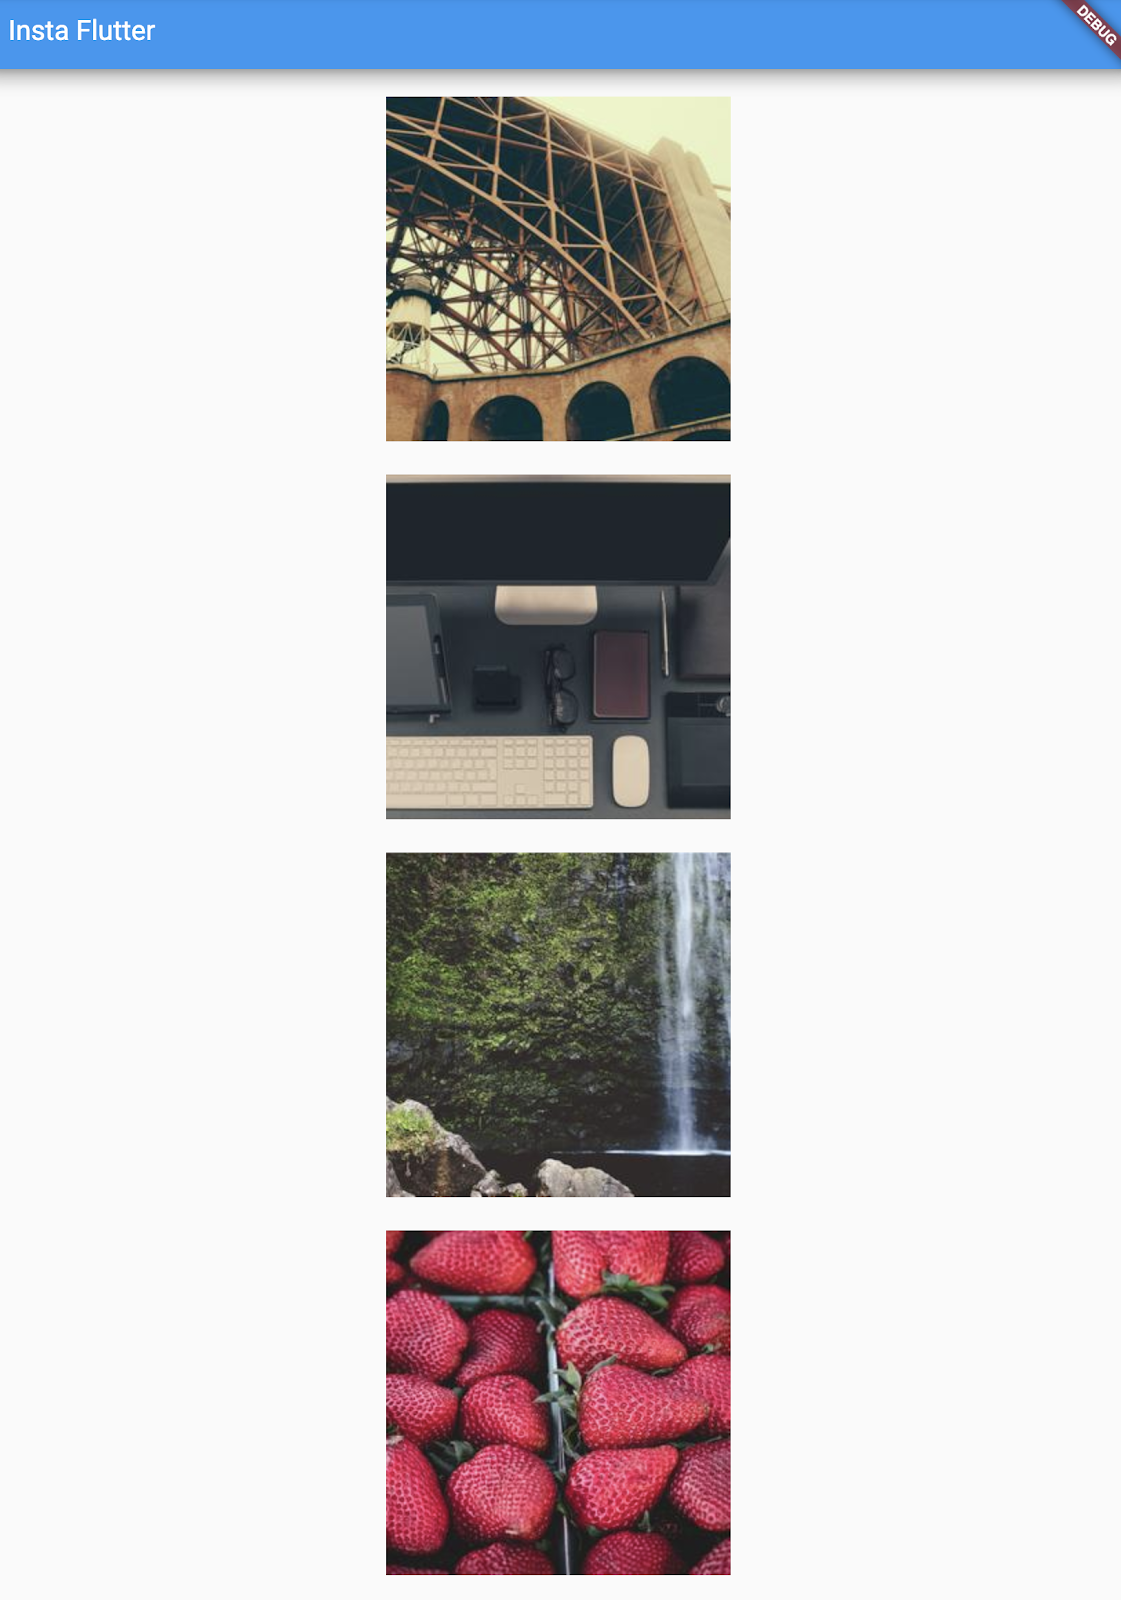
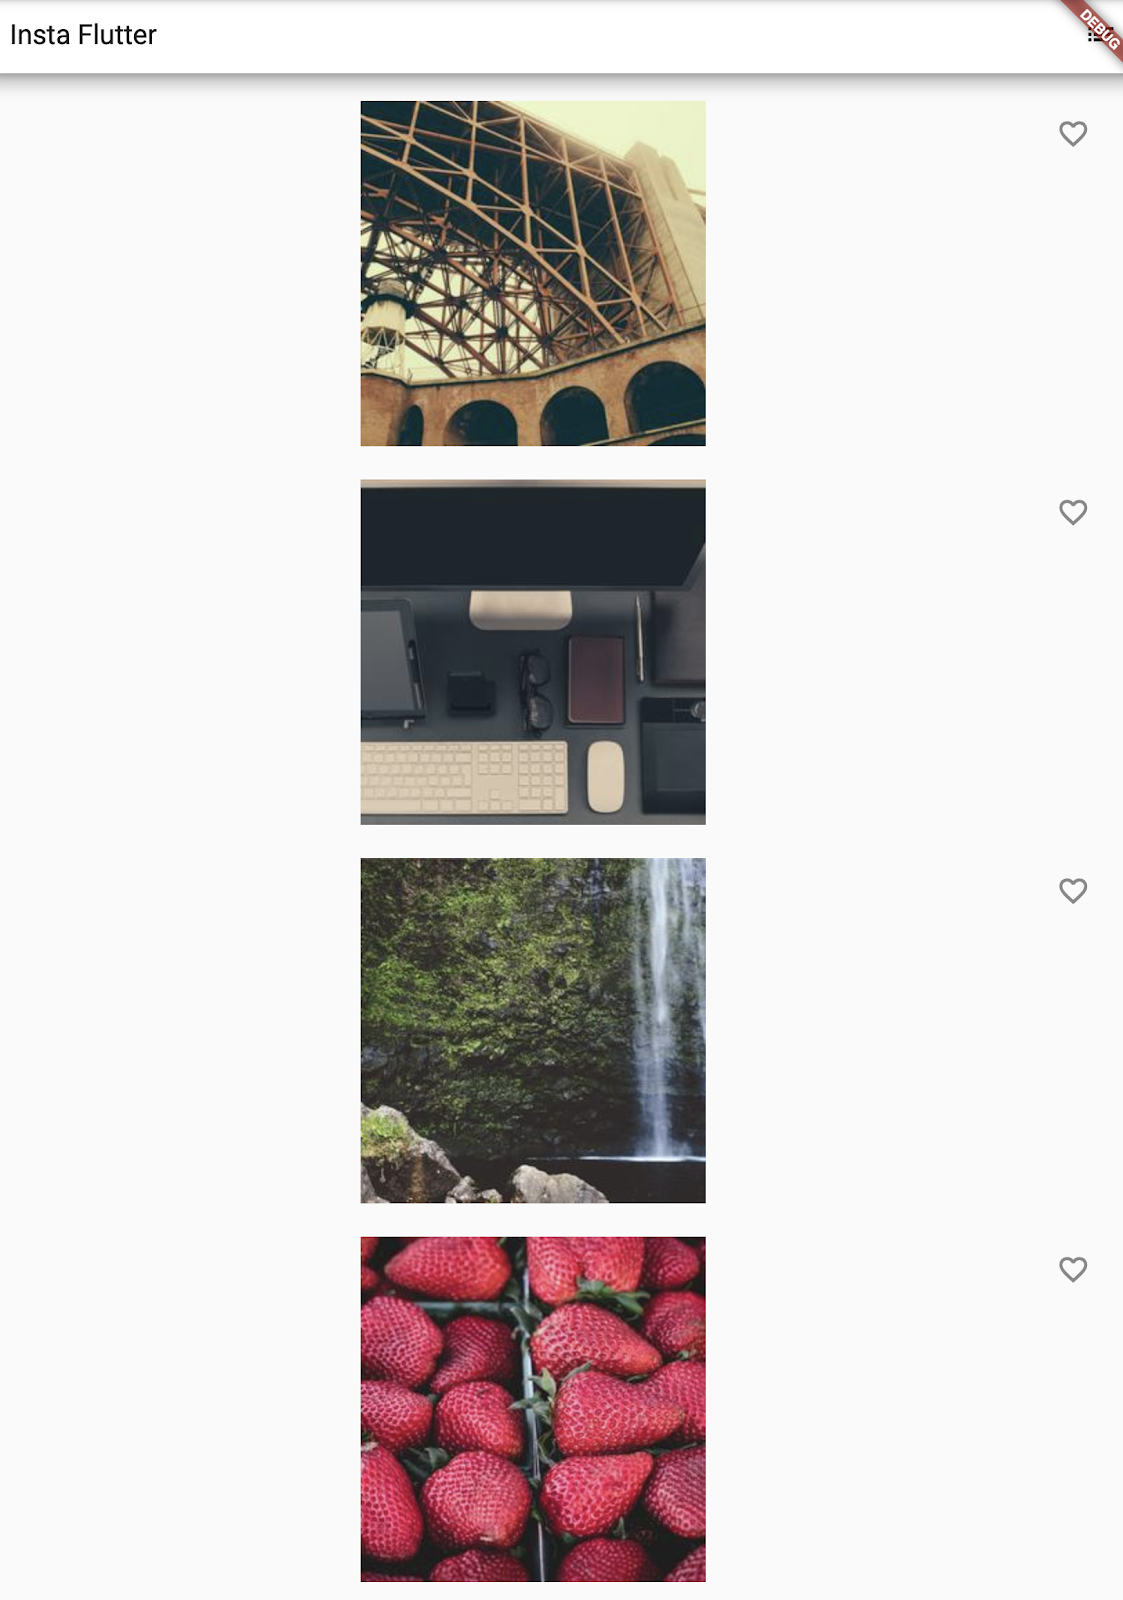
Click RUN button. The app should display a list of images.
Congratulations!
You have completed part 1 of this codelab! We will continue with the following improvemnts:
- Add interactivity.
- Add the ability to navigate to a new route.
- Modify the theme color.
In this step, you'll add heart icons to each row. In the next step, you'll make them tappable and save the favorites..
Add a _saved Set to RandomImagesState. This Set stores the urls that the user favorited. Set is preferred to List because a properly implemented Set does not allow duplicate entries.
class RandomImagesState extends State<RandomImages> {
  final Set<String> _saved = Set<String>(); // Add this line.
  final List<String> _urls = <String>[];
  ...
}
In the _buildRow function, add an alreadySaved check to ensure that an url has not already been added to favorites.
  Widget _buildRow(String url) {
    final bool alreadySaved = _saved.contains(url);  // Add this line.
    ...
  }
In _buildRow() you'll also add heart-shaped icons to the ListTile objects to enable favoriting. In the next step, you'll add the ability to interact with the heart icons.
Add the icons, as shown below:
 Widget _buildRow(String url) {
    final bool alreadySaved = _saved.contains(url);

    return ListTile(
      title: Image.network(url, height: 250),
      trailing: Icon(     // Add the lines from here...
        alreadySaved ? Icons.favorite : Icons.favorite_border,
        color: alreadySaved ? Colors.red : null,
      ),                  // ... to here.
    );
  }
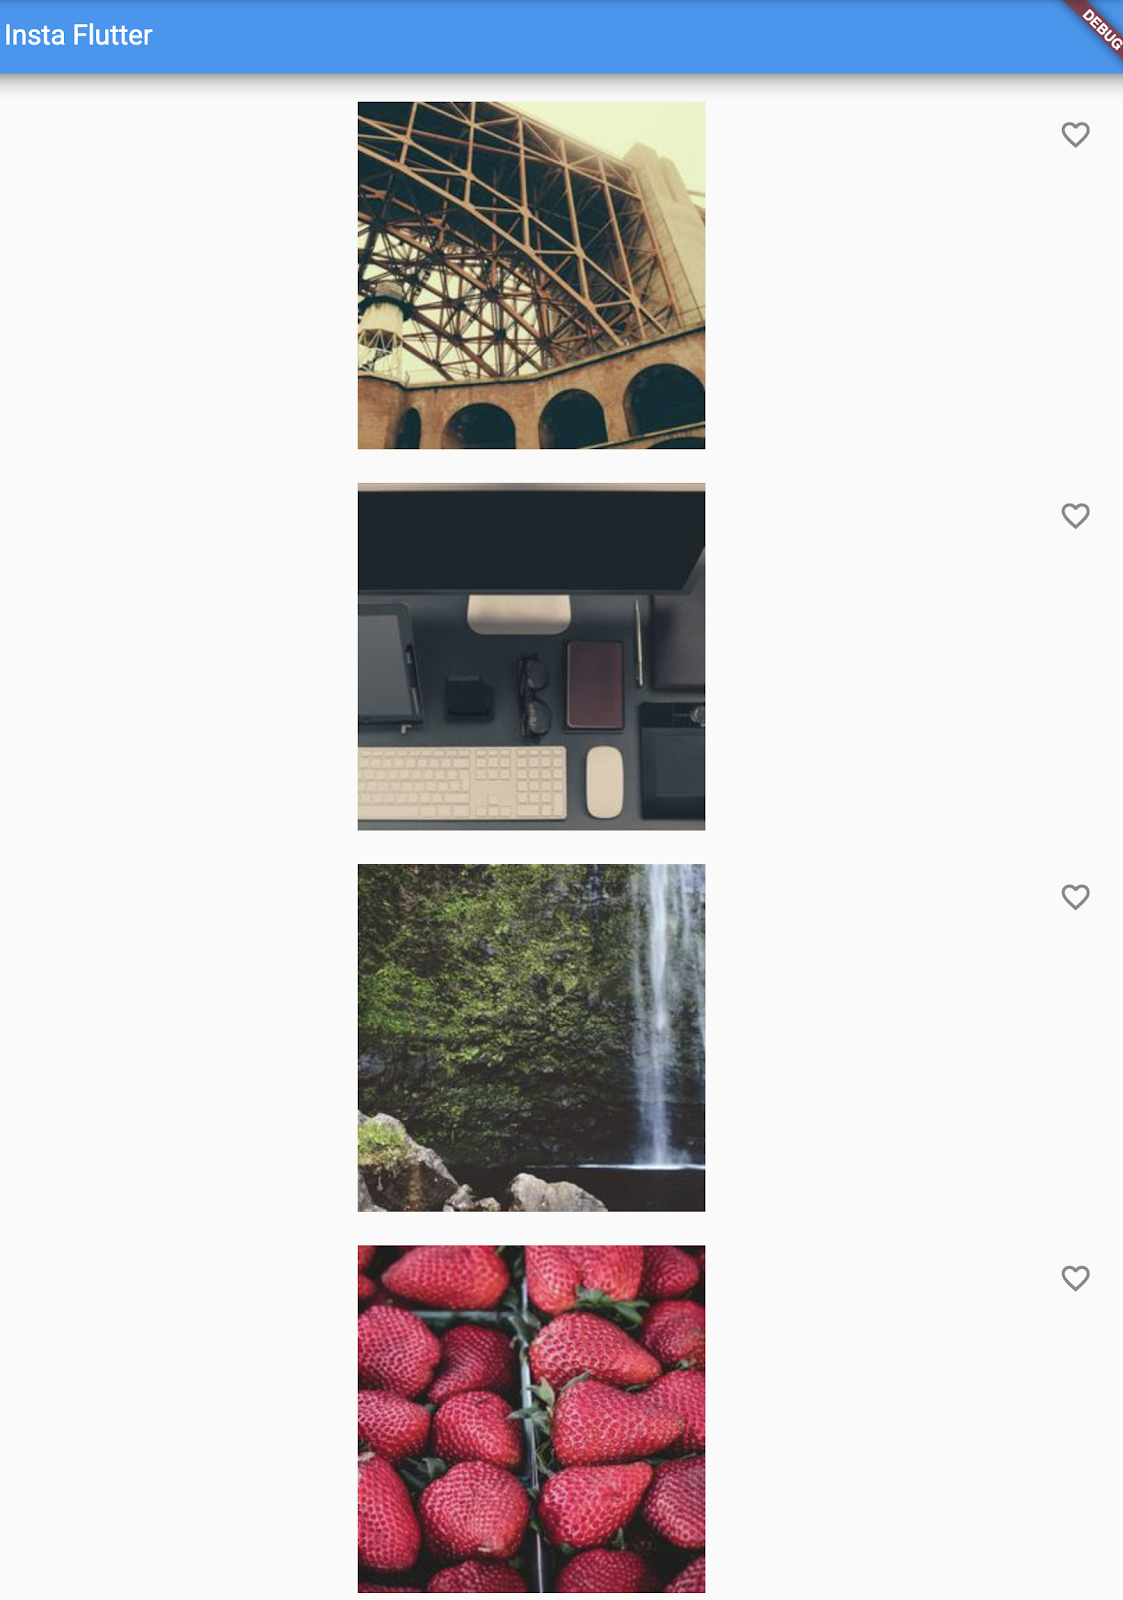
Click RUN button. You should now see open hearts on each row, but they are not yet interactive.
In this step, you'll make the heart icons tappable. When the user taps an entry in the list, toggling its "favorited" state, that image is added or removed from a set of saved favorites.
To do this, you'll modify the _buildRow function. If an image has already been added to favorites, tapping it again removes it from favorites. When a tile has been tapped, the function calls setState() to notify the framework that state has changed.
Add onTap, as shown below:
 Widget _buildRow(String url) {
    final bool alreadySaved = _saved.contains(url);

    return ListTile(
      title: Image.network(url, height: 250),
      trailing: Icon(
        alreadySaved ? Icons.favorite : Icons.favorite_border,
        color: alreadySaved ? Colors.red : null,
      ),
      onTap: () { // Add 9 lines from here...
        setState(() {
          if (alreadySaved) {
            _saved.remove(url);
          } else {
            _saved.add(url);
          }
        });
      },           // ... to here.
    );
  }
Click RUN button. You should be able to tap any tile to favorite, or unfavorite, the entry. Tapping a tile generates an implicit ink splash animation emanating from the tap point.

In this step, you'll add a new page (called a route in Flutter) that displays the favorites. You'll learn how to navigate between the home route and the new route.
In Flutter, the Navigator manages a stack containing the app's routes. Pushing a route onto the Navigator's stack, updates the display to that route. Popping a route from the Navigator's stack, returns the display to the previous route.
Next, you'll add a list icon to the AppBar in the build method for RandomImagesState. When the user clicks the list icon, a new route that contains the saved favorites is pushed to the Navigator, displaying the icon.
Add the icon and its corresponding action to the build method:
  @override
  Widget build(BuildContext context) {
    return Scaffold(
      appBar: AppBar(
        title: const Text('Insta Flutter'),
        actions: <Widget>[      // Add 3 lines from here...
          IconButton(icon: Icon(Icons.list), onPressed: _pushSaved),
        ],                      // ... to here.
      ),
      body: _buildImages(),
    );
  }
Add a _pushSaved() function to the RandomImagesState class.
  void _pushSaved() {

  }
Click RUN button. The list icon (  ) appears in the app bar. Tapping it does nothing yet, because the
 _pushSaved function is empty.
Next, you'll build a route and push it to the Navigator's stack. This action changes the screen to display the new route. The content for the new page is built in MaterialPageRoute's builder property, in an anonymous function.
Call Navigator.push, as shown below, which pushes the route to the Navigator's stack. The IDE will complain about invalid code, but you will fix that in the next section.
void _pushSaved() {
  Navigator.of(context).push(
  );
}
Next, you'll add the MaterialPageRoute and its builder. For now, add the code that generates the ListTile rows. The divideTiles() method of ListTile adds horizontal spacing between each ListTile. The divided variable holds the final rows, converted to a list by the convenience function, toList().
Add the code, as shown below:
  void _pushSaved() {
    Navigator.of(context).push(
      MaterialPageRoute<void>(       // Add 15 lines from here...
        builder: (BuildContext context) {
          final Iterable<ListTile> tiles = _saved.map(
            (String url) {
              return ListTile(
                title: Image.network(url, height: 250),
              );
            },
          );
          final List<Widget> divided = ListTile.divideTiles(
            context: context,
            tiles: tiles,
          ).toList();
        },
      ),                            // ... to here.
    );
  }
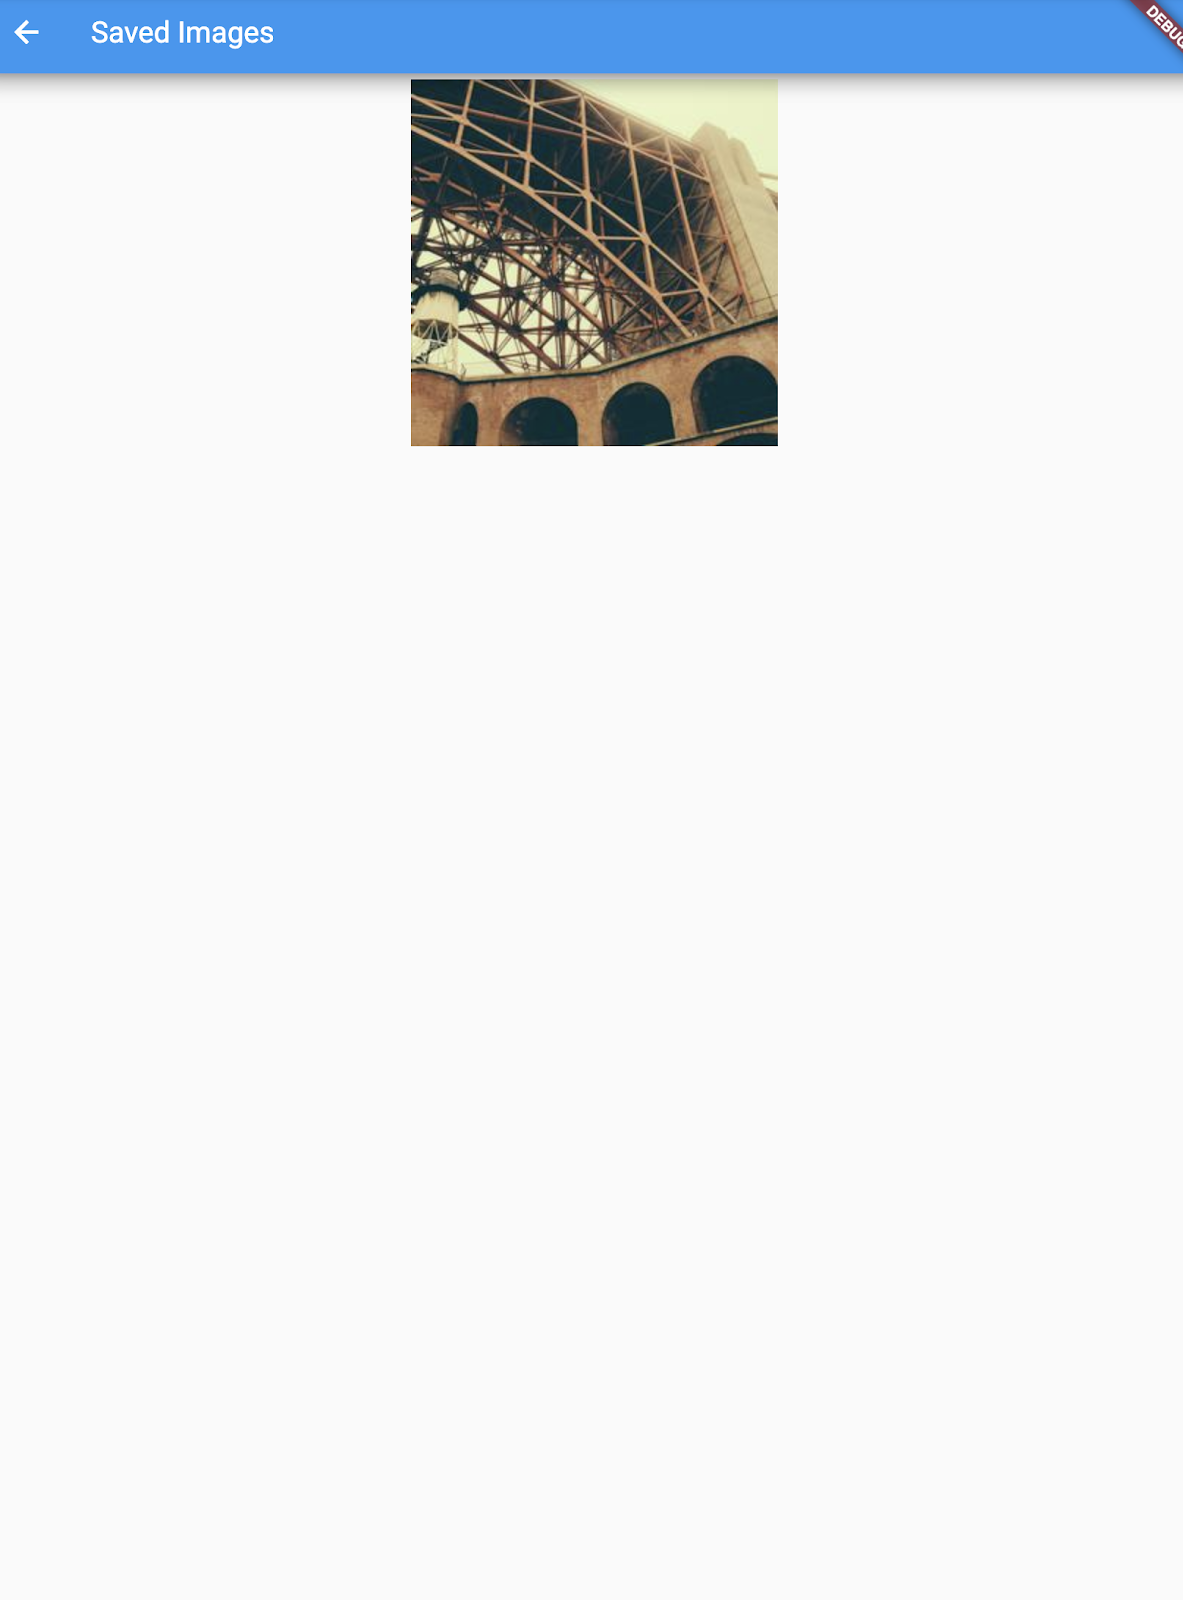
The next step is to make builder property returns a Scaffold, containing the app bar for the new route, named "Saved Images." The body of the new route consists of a ListView containing the ListTiles rows; each row is separated by a divider.
Add the code, as shown below:
 void _pushSaved() {
    Navigator.of(context).push(
      MaterialPageRoute<void>(
        builder: (BuildContext context) {
          final Iterable<ListTile> tiles = _saved.map(
            (String url) {
              return ListTile(
                title: Image.network(url, height: 250),
              );
            },
          );
          final List<Widget> divided = ListTile.divideTiles(
            context: context,
            tiles: tiles,
          ).toList();

          return Scaffold(     // Add 6 lines from here...
            appBar: AppBar(
              title: Text('Saved Images'),
            ),
            body: ListView(children: divided),
          );                   // ... to here.
        },
      ),
    );
  }
Click RUN button. Favorite some of the selections and tap the list icon in the app bar. The new route appears containing the favorites. Note that the Navigator adds a "Back" button to the app bar. You did not have to explicitly implement Navigator.pop. Tap the back button to return to the home route.
In this step, you'll modify the app's theme. The theme controls the look and feel of your app. You can either use the default theme, which is dependent on the physical device or emulator, or customize the theme to reflect your branding.
You can easily change an app's theme by configuring the ThemeData class. This app currently uses the default theme, but you'll change the app's primary color to white.
Change the color in the MyApp class:
class MyApp extends StatelessWidget {
  @override
  Widget build(BuildContext context) {
    return MaterialApp(
      title: 'Insta Flutter',
      theme: ThemeData(  // Add the 3 lines from here...
        primaryColor: Colors.white,
      ),
      home: RandomImages(),
    );
  }
}
Click RUN button. The entire background is now white, even the app bar.
As an exercise for the reader, use ThemeData to change other aspects of the UI. The Colors class in the Material library provides many color constants you can play with, and hot reload makes experimenting with the UI quick and easy.
You've written an interactive Flutter app. In this codelab, you've:
- Written Dart code.
- Used DartPad for a faster development cycle.
- Implemented a stateful widget, adding interactivity to your app.
- Created a route and added logic for moving between the home route and the new route.
- Learned about changing the look of your app's UI using themes.
Learn more about the Flutter SDK:
- Building layouts in Flutter tutorial
- Add interactivity tutorial
- Add fade animation cookbook
- Introduction to widgets
- Flutter for Android developers
- Flutter for React Native developers
- Flutter for web developers
- Flutter's Youtube channel
Other resources include:
- Build Native Mobile Apps with Flutter (a free Udacity course)
- Flutter cookbook
- From Java to Dart codelab
- Bootstrap into Dart: learn more about the language